Copyright © George Snyder 2007
- - more recipes from
Snyder’s
Bakery
Bible
Breads
SPECIAL INSTRUCTIONS FOR BREADS
In our yeast bread recipes, the ingredients are grouped. Usually the first group is for the yeast mixture, the second for the start of the dough mixture, and the remaining of the flour is in the third group. If there are special ingredients, they will be either in the third or a later group.
Yeast should be placed in warm water and allowed to set for a few minutes to allow it to activate. This encourages better yeast action and therefore better cellular texture. Some sugar may help this action. We normally just set the bowl on top of the stove where the heat from the oven would work.
1. Combine water, yeast, and sugar in a bowl and let set until yeast activates.
Normally this is a quarter cup of water or so, and a teaspoon or so of sugar.
Water should be lukewarm.
Temperature should be about 80° F.
Cover with a damp cloth.
Mixing for home use quantities can be done by hand. You can also use a mixer with a dough hook. At Snyder’s Bakery, the bread mixer was a machine large enough to mix two full 8 gallon bread recipes.
2. In a large mixing bowl, mix the rest of the ingredients except for the flour.
If the ingredients are grouped, this will be the second group.
Add in the yeast mixture.
If you mix a rough dough using all the flour the recipe calls for except one cup, and then let the dough mass rest in the bowl for as long as 20 minutes, the flour in the dough becomes hydrated and the gluten develops on its own. The dough is easier to work with and you probably may not require that final cup of flour, or at least not much of it. Kneading the dough is easier, the time required to knead is shorter and less flour is required for handling. The finished loaf will be moister and have a softer texture because of less flour.
3. Usually the flour is in the third group.
Mix in the flour a cup at a time, mix after each cup.
When the dough becomes something you can kneed, go to the next step.
You should have some flour left over for kneeding
At Snyder’s Bakery, after mixing, the dough was put into a large stainless steel cart that measured about two feet deep, two and a half feet wide, and five feet long. The first and second rises were done in this container. For smaller batches, we had large round stainless steel bowls (about four feet in diameter and eighteen inches deep) that we used for the first and second rises. These bowls were set on carts that were essentially steel rings on supports on wheels. For home use quantities, we suggest stainless steel bowls.
4. Let rest in proof for about 10 minutes.
Kneed for about 10 minutes adding flour as needed.
Do not worry if you have not used all the flour.
Grease bowl.
Return dough ball to the bowl.
Grease the top and cover with a damp cloth.
If you melt a little butter or table margarine and use a pastry brush to ‘paint’ the top of the dough, the remaining butter can be used to butter the top of the bread when it comes out of the oven. Greasing the top of the dough ball at this time keeps it from drying out and forming a crust that makes it harder to deal with later.
First rise - Less damage is done if over proofed. Usually your dough should double during the first rise. Then "punch" down and proof for the second rise. In the sponge method, most of the flour is not mixed in yet. The first rise is in the sponge and then the rest of the flour is mixed in prior to the second rise. See the Salt Rising Bread recipe.
5. Set to proof until double. (First proof)
Punch down, cover with a damp cloth.
Second rise - Unless you are very experienced, try to under proof slightly.
6. Set to proof for second rise.
Punch down, shape and put in pans.
Pans normally should be greased.
Final rise - This is usually done with the loaves shaped and in the pan. Proof and wait for full rise.
7. Let rise in pans. (Slightly under proof)
Some recipes call for buttering the top before proofing or just before going into oven.
Proof - The rising action of bread dough required for the proper texture of the bread. At SNYDER'S BAKERY, the proof box was over six feet wide, over six feet high, and about three feet deep. It was heated by steam to 100-110 degrees. This would ensure a very moist, warm environment for the baked goods to rise in. This was used for the final rise.
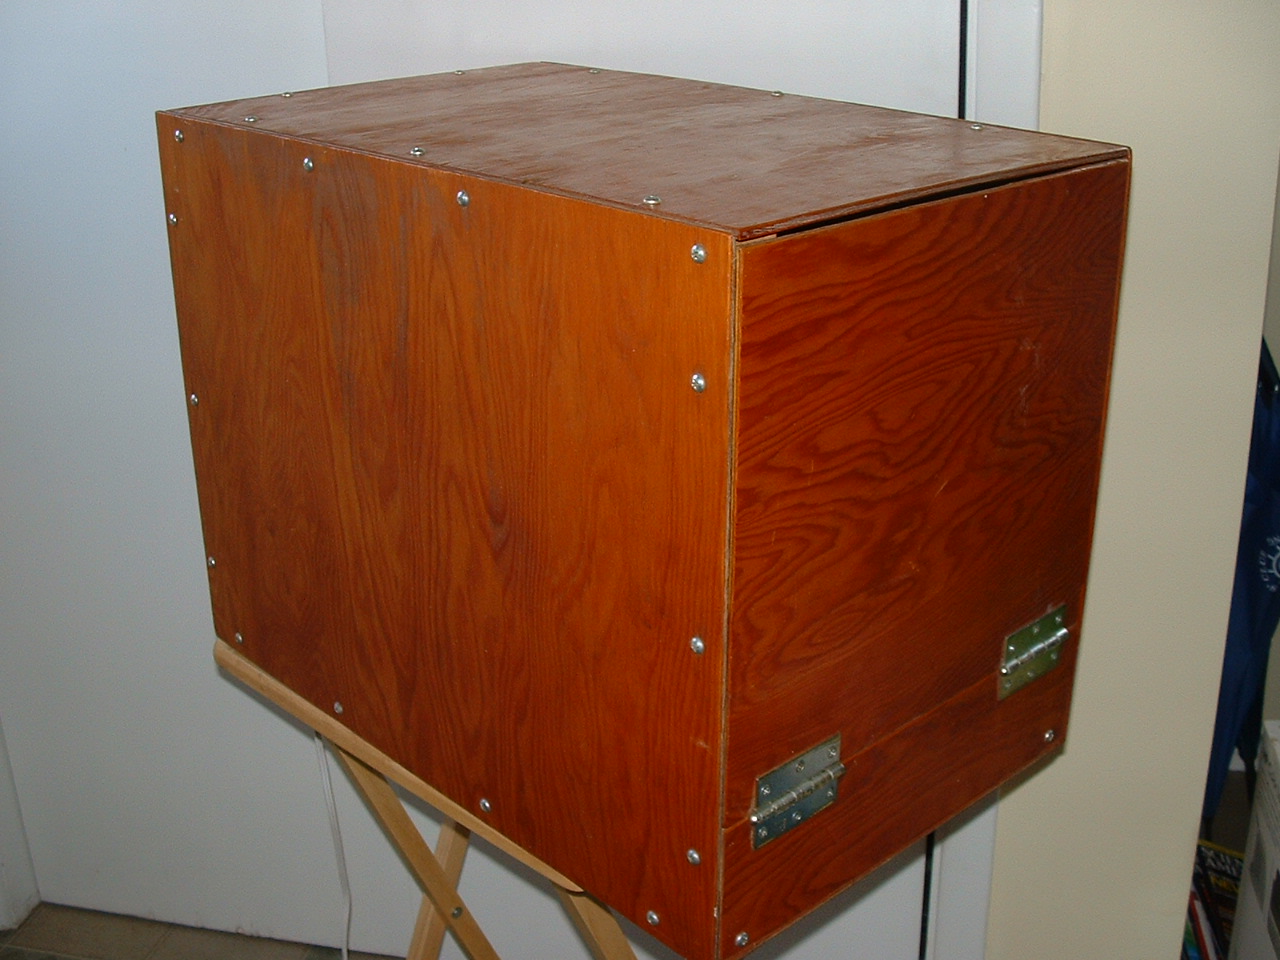
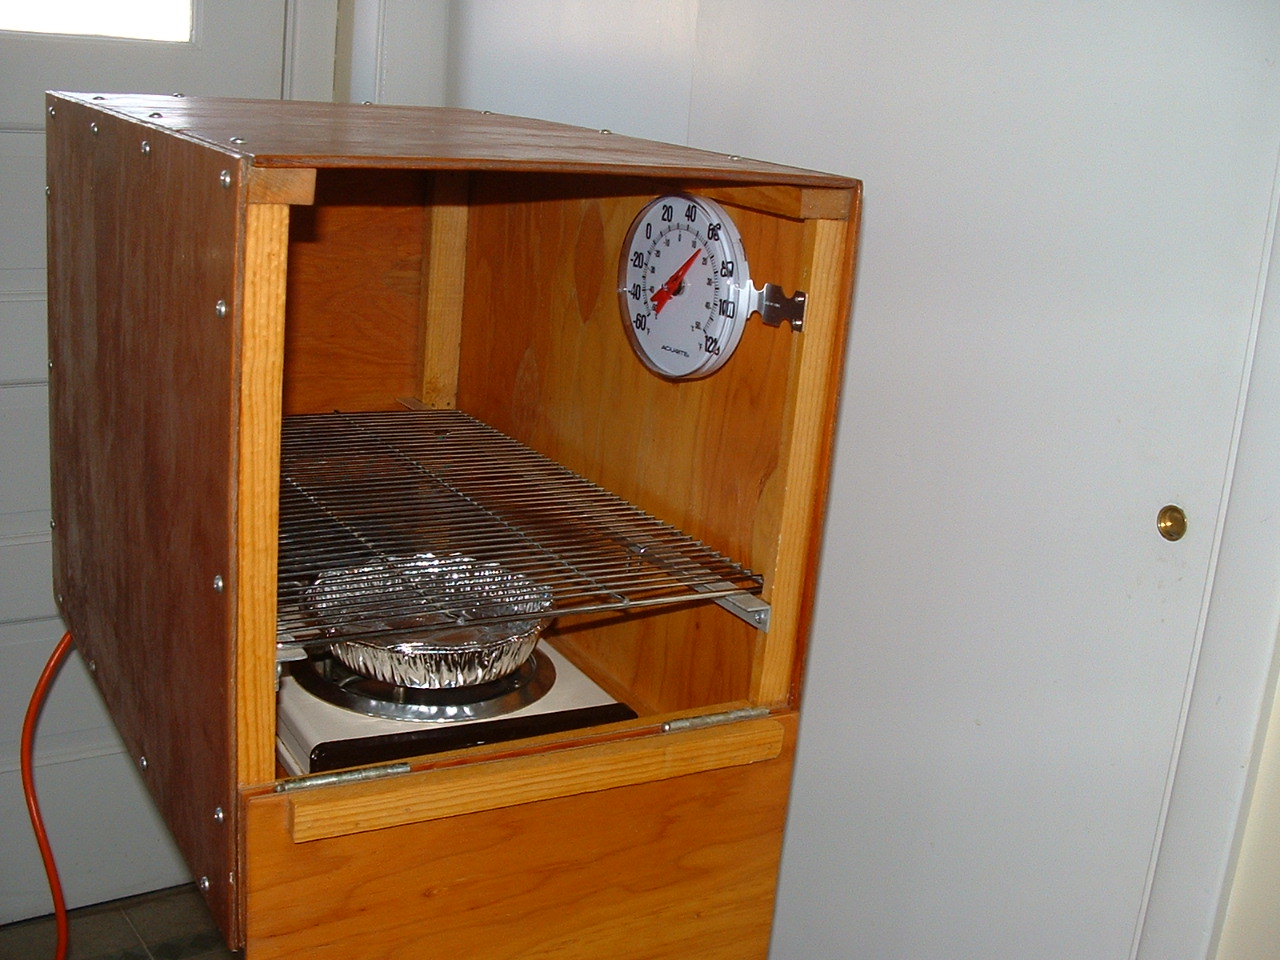
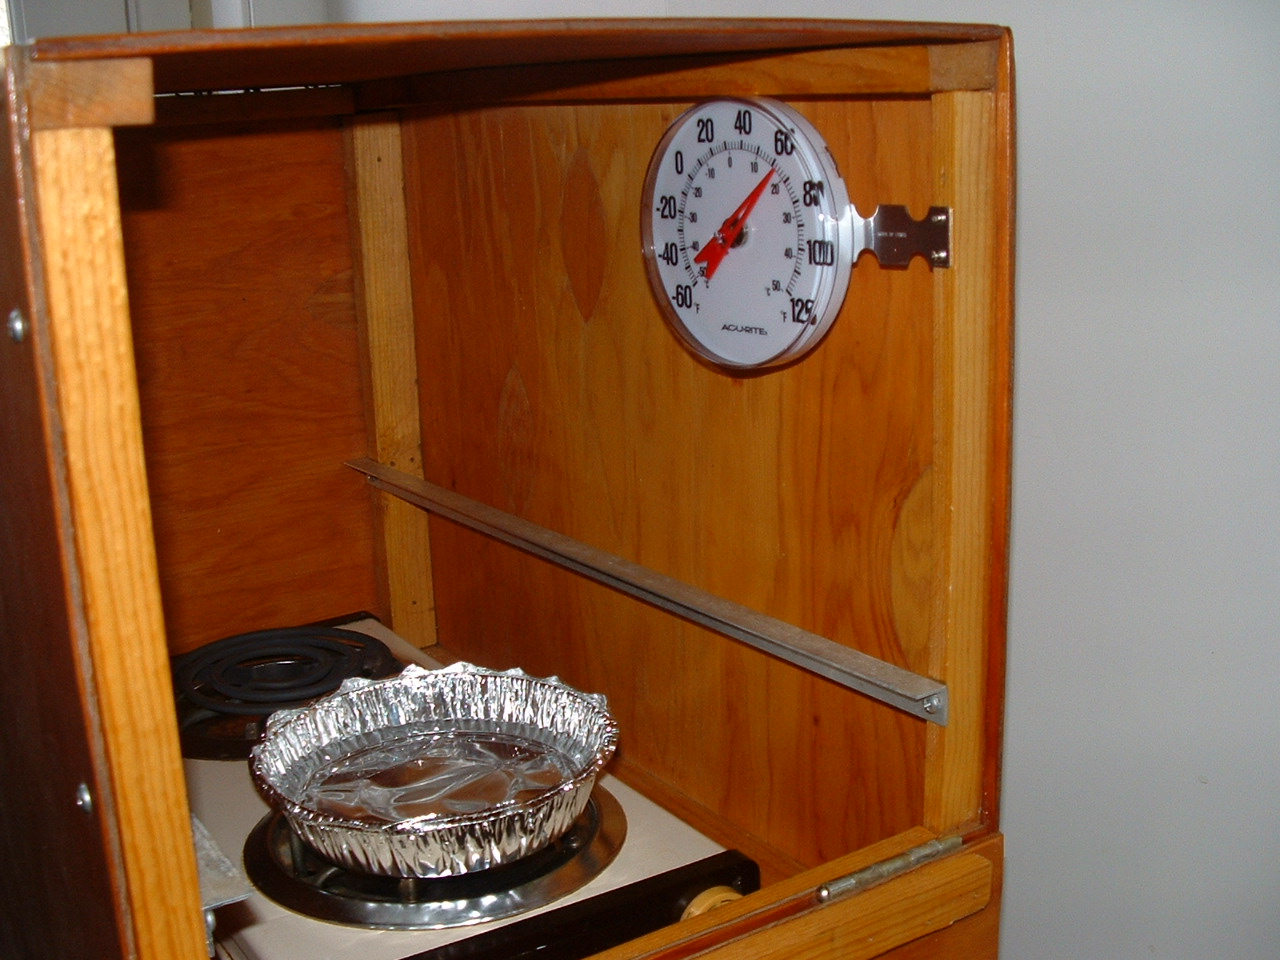
When developing these recipes we made a wood box measuring 16" wide, 17" high, and 23" deep. We put a rack about a third of the way from the bottom with a hot plate and a pan of water in the bottom to give us the heat and moisture required. Any other small heat source would also work. Be careful you do not get too warm. Use a thermometer. Test before you need it to make sure it works properly. Use the temperature control on the hotplate to set the temperature, or open the door slightly to lower the temperature if it is too warm. Bring the box up to temperature before you start, so you have it ready and at the proper temperature when your dough is ready for proof. A temperature over 120° may be too hot. When proofing; a warmer, shorter time will develop more and smaller cells.
Under proofing causes a too-solid loaf of bread. There is not enough gas and too few cells.
Over proofing causes a too-coarse loaf of bread. Loose action of the gas causes bursting of the walls between cells.
Try to develop the most fine cells possible to give a lighter loaf of bread with a pleasant texture.
Full Rise - Slight indentation of finger will fall (recede) slowly. The bread will rise slightly in the oven.
8. Bake.
Usually at 375°
Usually about 30 minutes for loaves of bread, less for rolls.
If called for, butter tops when you take it out of the oven.
It is not necessary to remove from pans immediately.
Problems
Tough bread -
-
Toughness may result from kneading too much.
-
You might incorporate a bit less flour into the dough, enabling more gluten development.
-
You could be using a higher protean flour.
-
You could be using too much powdered milk.
-
Try replacing some bread flour with all purpose flour. That should shorten the dough somewhat.
-
Add more liquid (oil, eggs, sugar) to soften the dough.
-
Start with SLIGHTLY warmer water.
-
Shorten kneading time by a minute or so.
Too much flour -
-
The first thing that happens when you have too much flour is that the it absorbs all the water too early in the kneading process, without actually becoming completely hydrated. The dough becomes too stiff to knead without tearing before the point where the gluten is developed. Therefore the finished bread will have a short crumb, rather than a properly developed cell structure. This leads to rapid staling. If you are able to continue the kneading without tearing the dough (because the amount of excess flour is not huge), you are liable to overheat the dough, as a result of the increased internal friction. This leads to a very unhealthy fermentation, producing alcohols that end up killing the yeast and dissolving the gluten. The resulting mess is hard to rescue, but if you manage to do so, you end up with bread that collapses in the oven and - - if you do manage to get it baked through - - tastes awful. If you manage to avoid those two scenarios, it is possible to complete the kneading after the dough relaxes during fermentation. (Generally it is best to set the dough for a second fermentation in this case.) When you are done, your bread will rise less during proofing and will therefore have a denser texture than intended. It may be a bit crumbly and it may stale somewhat early. You also are likely to encounter splitting or lifting in the oven, and the flavor may be less rich than the ideal.
Time -
-
The more flour that you add to your sponge, the slower it will ferment/rise(a stiffer dough rises more slowly). Methods for a pre-ferment range from a soupy, pancake batter type thickness to a stiff, kneaded ball of dough. A slower rise will change the flavor of the bread, make it more complex. A slow rise will affect the texture of the bread; it will make the crumb more open, it will make the crumb a bit more chewy, it can put blisters on the crust of the baked bread and give the bread a longer shelf life before staling.
Any flour worked into the dough after punch down would not be fully hydrated, nor would the gluten of the flour be developed. . .as a result, the texture of the finished loaf would be crumbly and dry.
You may find that dough is easier to handle after it has fermented. Simply mix the ingredients, using less flour than you use normally, and let the mixture sit for a while to fully hydrate the flour. Then go back to it and mix it as well as you can in the bowl before finally turning it out and starting to knead. Use a light touch for the first few minutes of turning and folding, using the bench scraper as necessary, but not adding a lot of flour. You should see the beginning of gluten formation and the dough should come together fairly quickly after that, to the point that you can knead it successfully for a few minutes.
Set it to rise and, before it is fully doubled, turn it out on the bench and you should find it easy to knead at that point. You can either return it to the bowl for a second fermentation, or you can divide the dough, round it up, and let it rest on the bench before forming loaves.
Dough Temperature -
-
If it is too cold, waiting and light handling will not help. If it is too warm, you'll end up with an unmanageable mess. Aim for a dough temperature of about 80° F at the end of the first mixing.